![]()
![]()
![]()
![]()
![]()

|
|
|
Lets start re-assembling the motor.
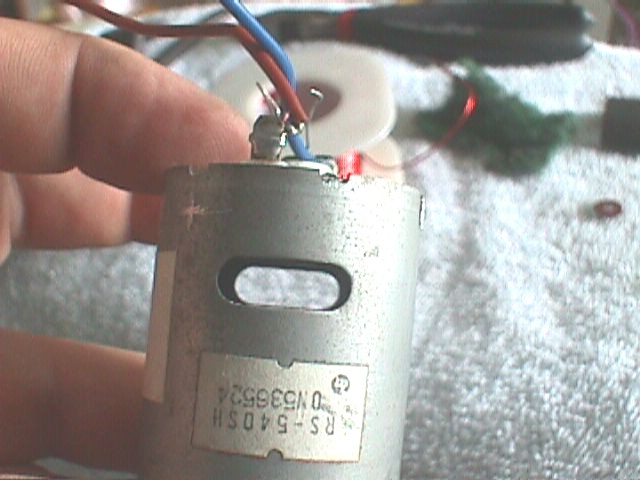
Put the endbell back on the motor. With this model and most others you will have to press the endbell back down in the can. Align it as it was before it was removed.
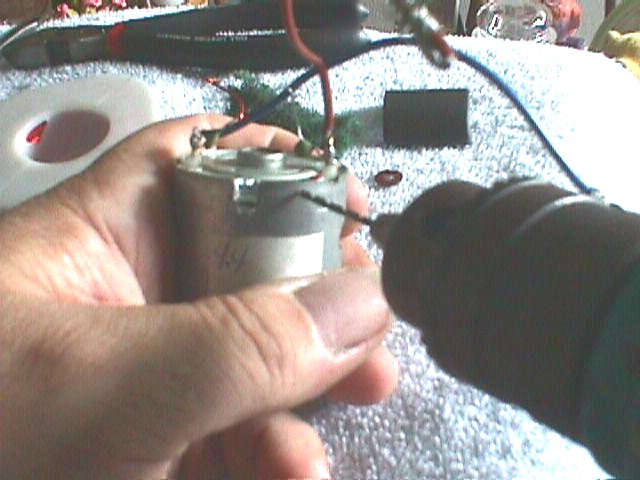
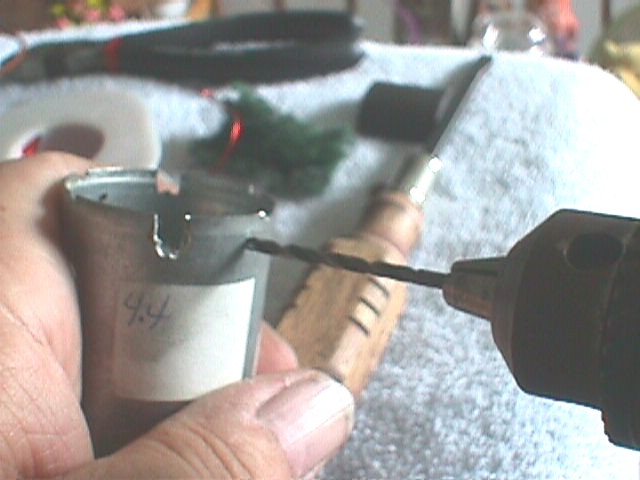
This is my tool for drilling holes and driving screws. It is a Makita drill that I modified to take a 7.2 hobby battery. By the way the motor in the drill is a 540. (no, I haven't rewound it yet! :-)
Drill a 1/16 hole through both the motor can and the plastic part of the endbell in two places opposite each other on the motor can. A quick look at the endbell will help you determine where. Remember there will be screws poking through these holes so choose a space that will not interfere with the brushes.
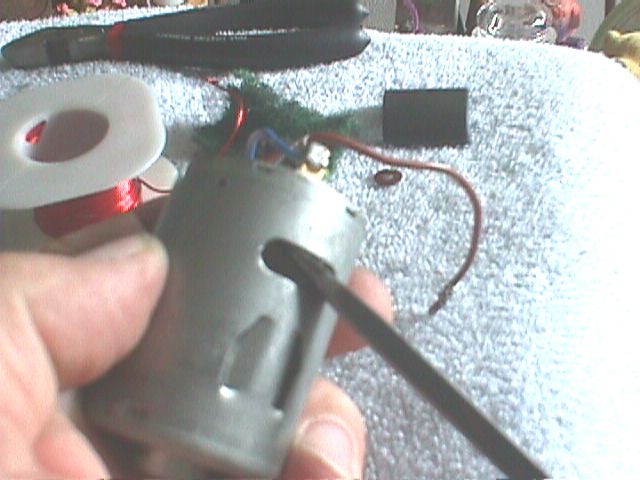
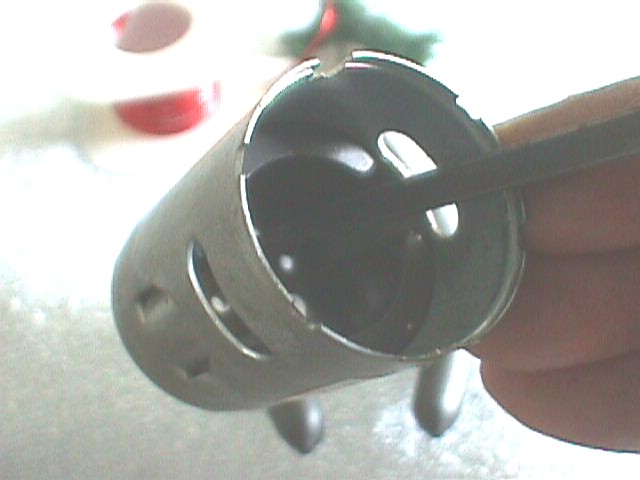
Remove the endbell from the motor can. Sometimes it is helpful to use a screwdriver to pop the endbell out.
Drill a larger hole in the motor can. Adjust the size of the hole so that the screws you use will be a snug fit but pass freely through the hole and they will tap into the plastic pre-drilled holes in the end bell.
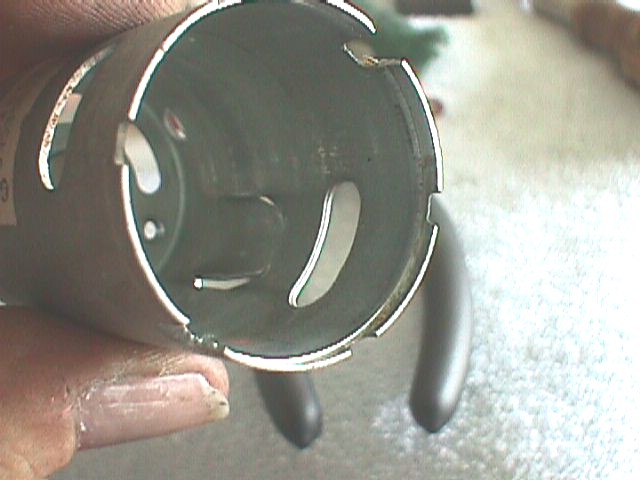
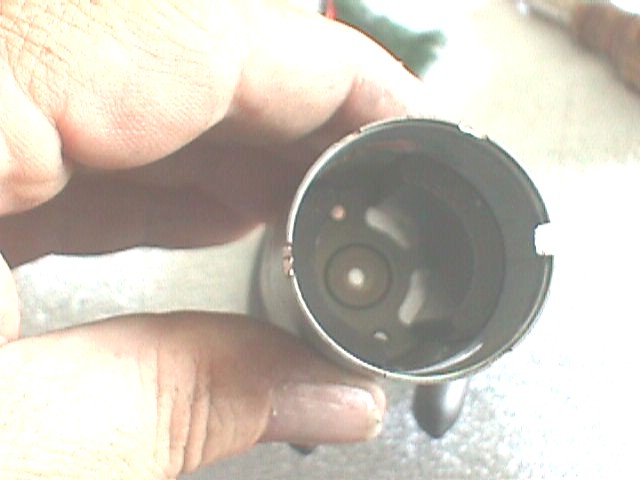
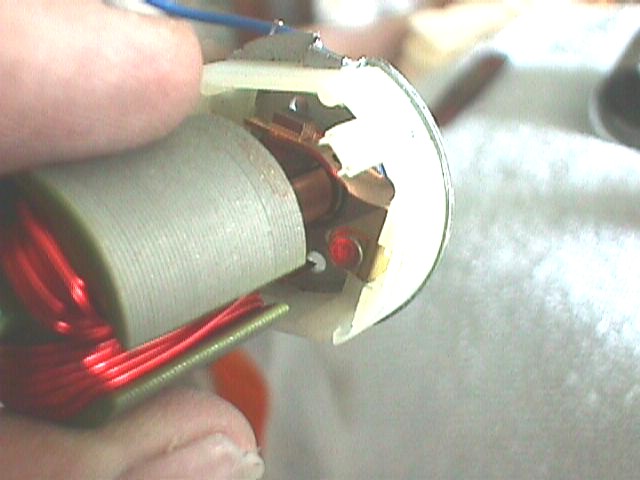
Slide the magnets back in aligning them with the pressed stops built into the motor can and aligned to our marks made when they were removed.
Press the spring back in place once the magnets are aligned.
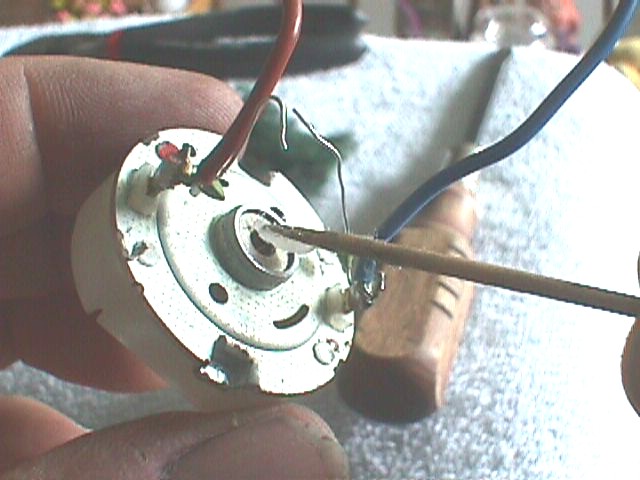
Put some grease in the endbell motor shaft bushing hole from the outside only. Be careful not to get grease on the inside flat surface of the bushing. The idea is to keep the grease away from the brushes. I use grease rather than oil. It lasts longer.
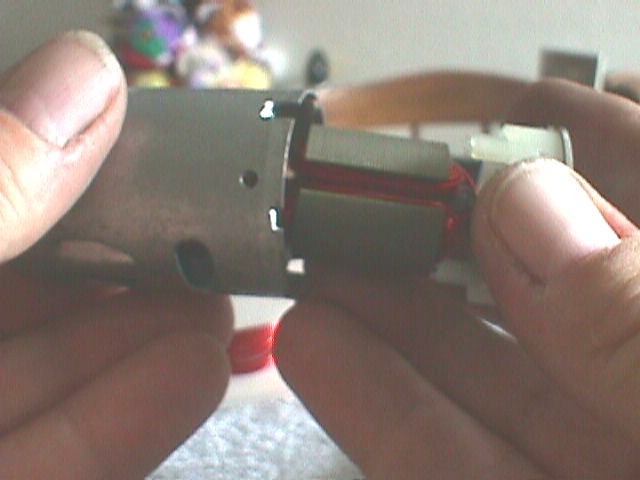
Work the armature in between the brushes in the endbell and push the armature shaft into the endbell bushing. If there were (and there always is) gapping washers and fiber washers on the end of the armature when you disassembled the motor then replace them during reassembly to the way they were originally.
Carefully replace the armature into the motor can holding both the endbell and the armature. In addition keep a finger over the bushing hole on the end of the motor can and let the armature through only when the endbell is lining up and being placed in the other end of the motor can.
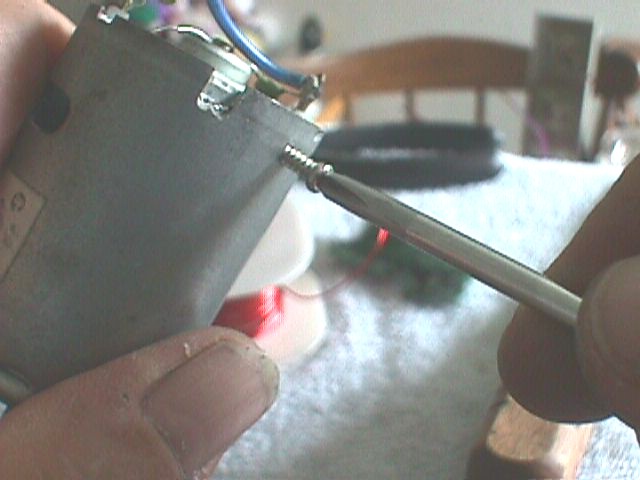
Place the screws into the endbell to keep it in place. As you will see in the next picture, when I am making a sleeper like this one I sometimes use old screws so they look like they always have been there.
|
|
|