![]()
![]()
![]()
![]()
![]()

|
|
|
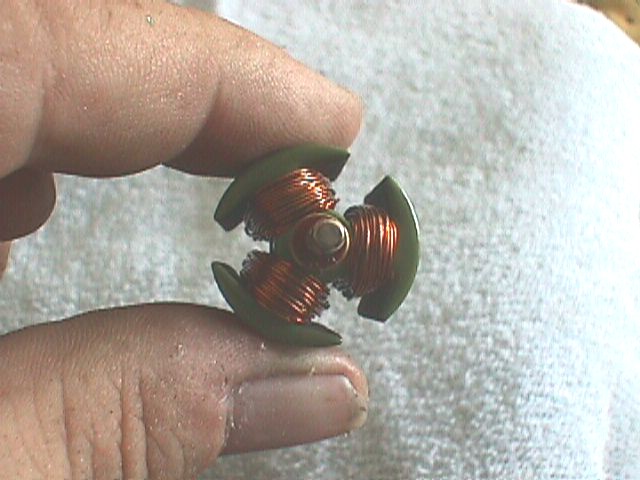
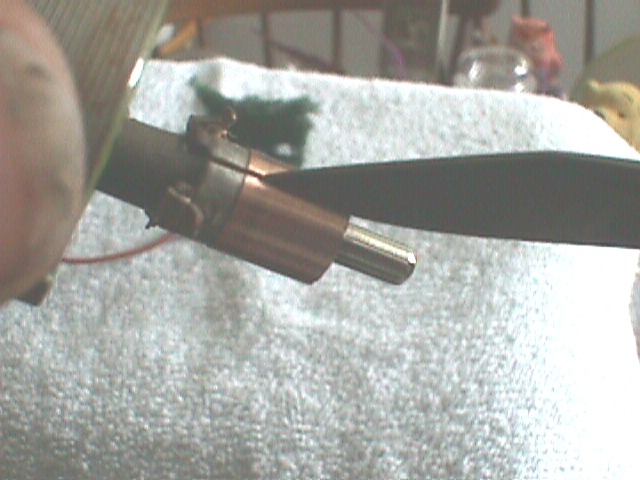
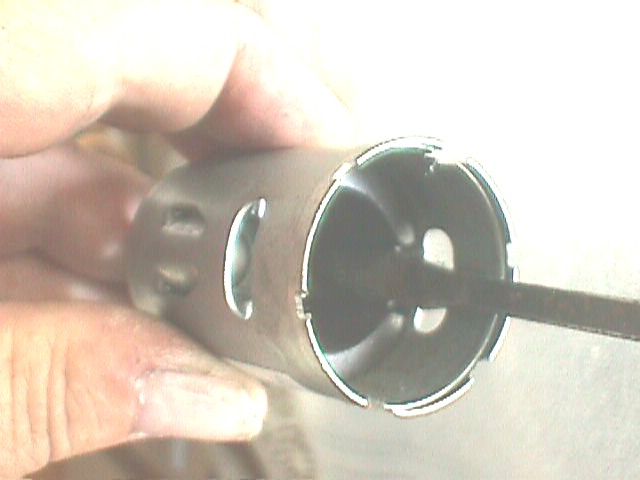
Another view! This arm doesn't have much wire on it. We will fix that. Like Tim Allen would say ... Hey, lets re-wire it! ;-)
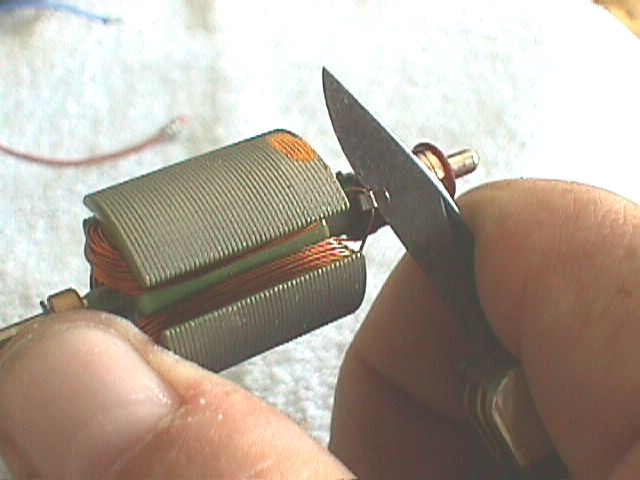
First we have to remove the old whimpy wire. This involves bending the tabs back on the bottom of the commutator that hold the wire to the commutator. This can be a tough job and the success of the rewind job depends on getting these tabs bent back without breaking them. I ruin about 1 out of every 10 I try to rewind. Some are just welded way to good and won't come undone but most will. You sometimes have to actually carve with your pocket knife to get a place to pry. When the tab comes loose it will pop away. Be careful to hold the knife so that you don't cut yourself and you don't lose control when the tab breaks free. If this happens you may inadvertently rip the tab off the commutator with the slice of the knife when it goes.
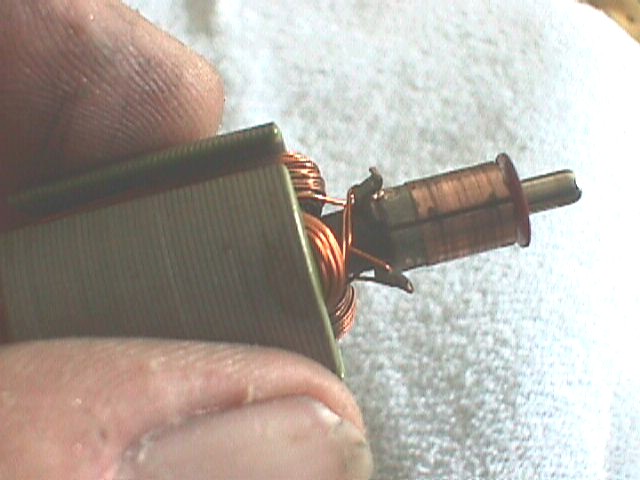
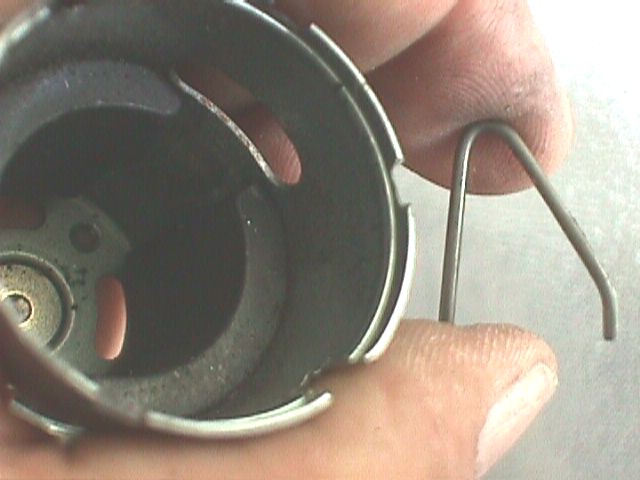
Here is what they look like when they are popped free. Note the way this motor was wound. The two wires go to the poll in the same direction. We will do this differently.
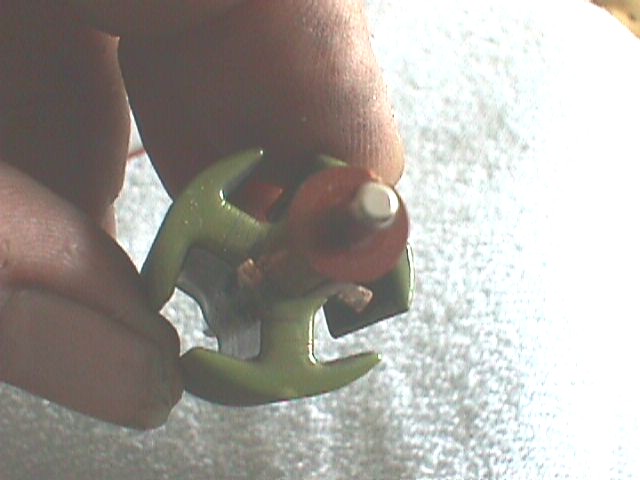
Here is the armature without the wire. Note the chip in the washer. This washer is still usable but this one was close to breaking when I removed the armature from the motor can. The chip was caused by the brushes as they came past the washer. More evidence that care should be taken when pulling the armature from the motor can.
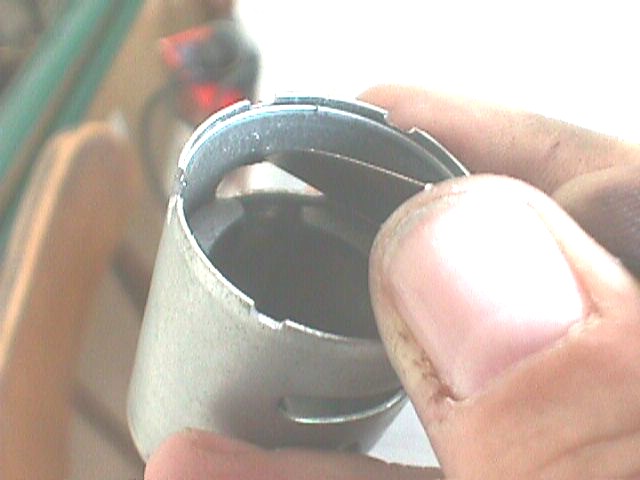
Below we have a picture of a budget comm lathe. This is a pot and pan scrubber, the green stuff you get at the grocery store. Usually these armatures are in pretty pristine shape cause who would drive such a sick r/c that much any way? Due to this we can use the finger squeeze comm lathe to get a like new condition commutator. Just use the green scrubby stuff and polish your commutator by spinning the comm in one hand and polishing with the other as shown here. The trick is, don't over do it and keep it even. Hey, it works!
After polishing the commutator we need to be certain we don't have any filings in the gaps between the three copper comm plates. Here I am using my pocket knife to both smooth the edges and clear any debris from the gap.
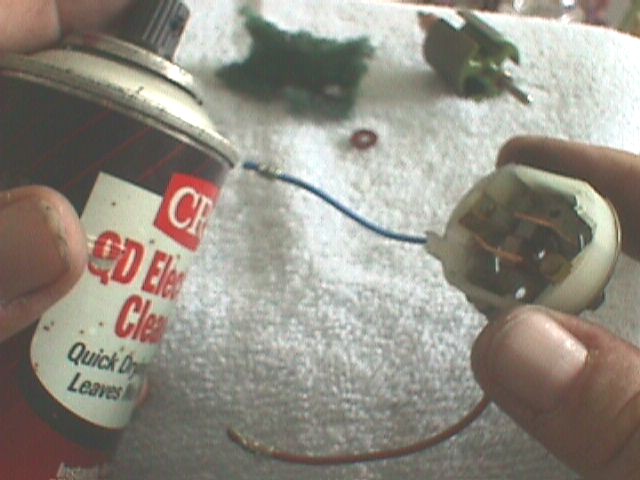
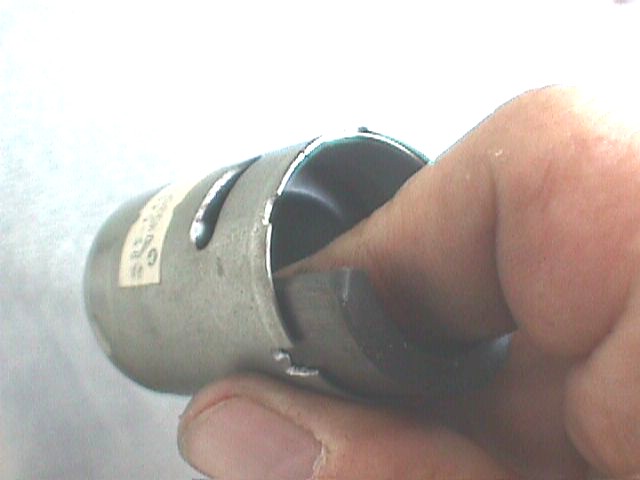
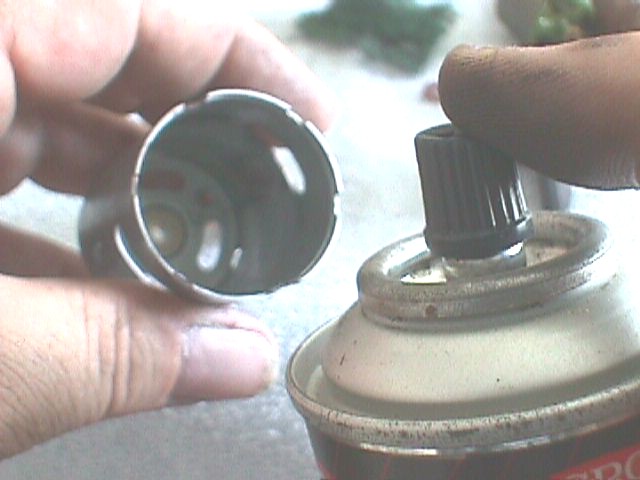
If you don't have any electronic parts cleaner (or electric motor cleaner, or tv tuner cleaner, etc., etc.) this is a must have for working on and maintaining motors. We will use this stuff to clean everything during this project. (Use outside, it stinks!)
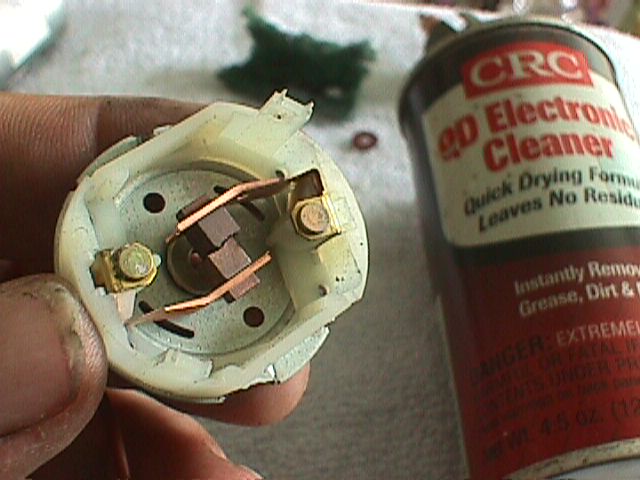
Here is a sample of the results after cleaning.
Next we remove the magnets from the motor can. We do this to be able to remove all metal filings from the motor created during our mods.
Between the magnets is a wire spring. Pop this out. The best tool to use is a regular flathead screwdriver.
This picture shows the spring removed.
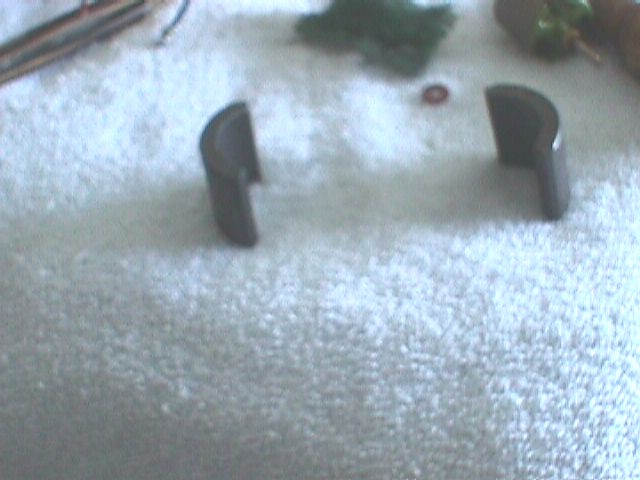
IMPORTANT: Mark the can with the symbol of your choice (I use an "x" :-) to denote the location of the magnets. Mark each magnet with the same symbol on the side closest to your mark. We will be removing the magnets and this is the system you will use to put them back in the same way they were.
Sometimes you have to "Pop" the magnets free by putting a screwdriver under a corner and twisting. Do this with caution because you don't want to break the magnet. A little chip won't hurt anything. Once they are loose you can slide them out with your fingers. Do the best you can.
Place the magnets about 6 inches apart. I set them in the same relationship to each other that they were in the motor to make reassembly easier.
Clean the motor can with the spray stuff!
|
|
|